… for Visual Effects
Tip #1067: Animating a Gothic Horror Anime Series
Larry Jordan – LarryJordan.com
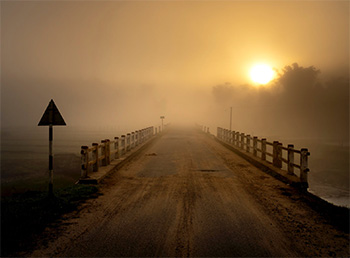
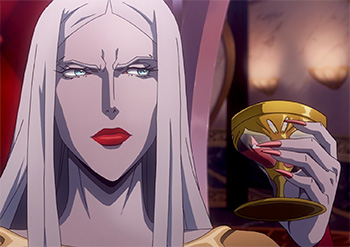
One of the creative joys for the Castlevania production team is designing the various demonic creatures.

Castlevania launched as a video game in 1986. In 2015 a creative partnership forged between Frederator Studios, comic book icon Warren Ellis, Project 51 Productions, Shankar Animation, Powerhouse Animation Studios, MUA Film and Netflix produced an anime inspired adaptation that debuted in July 2017 and has been renewed for a fourth season.
In this detailed article from VFXVoice.com, the production team describes how Castlevania came to NetFlix, how the show is created and discusses many of the challenges along the way.
Castlevania was always going to be 2D hand-drawn animation. Anime and the artwork of Ayami Kojima for Castlevania: Symphony of the Night were influential in deciding upon the animation style. “The early character design passes for the series were somewhat bland,” recalls producer Kevin Kolde. “Evaluating those designs and looking for a recognizable visual entry point for fans to the series, we realized that for most Castlevania fans, when they thought about the look of the game series, they probably thought about the stunning art that Ayami Kojima had created for the series over the years. Beautiful gothic women and maybe even more beautiful gothic men. We focused in on Kojima’s work and pushed the designs in that direction. All of our characters had to be beautiful. It took some iterations to get there, and somewhere I have a long email chain discussing the amount of eyelashes a character should have, but in the end I think our director and Production Designer Sam Deats really captured the essence of her work and did it in a way that that we could actually animate.”
One of the creative joys for the Castlevania production team is designing the various demonic creatures. Given the nature of the source material, there is an extensive amount of onscreen blood and severed limbs. “The show was always intended for adults.” states Kolde. “We had a brief discussion in Season 1 around the dead kid we see in the street during the night creature attack on Targoviste, but we decided it was important to show the results of Dracula’s revenge. We wanted to show the other side of a character that the audience had likely been sympathetic to up until that point.”
The entire article is worth reading for its behind-the-scenes insights on how these shows are created.
Here’s the link.