Tip #630: 5 Tips About iPhone Gimbals
… for Random Weirdness
Tip #630: 5 Tips About iPhone Gimbals
Larry Jordan – LarryJordan.com
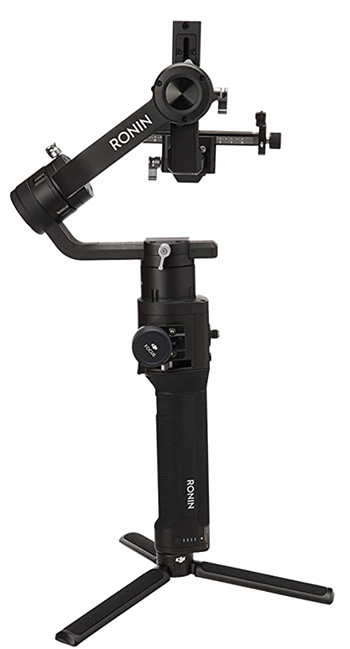
Stabilizers compensate for side-to-side movements, but you need to walk gently.


This article, written by Rubidium Wu, first appeared in PremiumBeat.com. This is an excerpt.
Here’s a look at the capabilities of an iPhone gimbal and how to incorporate it into your next project.
- Get Smooth Footage. The iPhone X (and above) have powerful stabilization built into their video modes. This smoothes out bumps and judder by itself.
- A Certain Kind of Shake. The three-axis motors in a gimbal eliminate the shake that comes from humans made of soft, pliable material — like muscle. They don’t eliminate the up-and-down movement that comes from walking. We don’t usually notice this movement because our brain cancels it out. However, it shows up in footage — gimbal or not.
- Different Levels. The most basic iPhone gimbal simply stabilizes the footage. More sophisticated versions give power to the camera, connect via Bluetooth, and use their own apps to shoot footage and communicate with the iPhone.
- Varying Models. Newer phones won’t fit in some older gimbals because each one is designed for a specific iPhone and the position of its camera. The wide-angle lens on the iPhone 11 Pro is so wide, it catches the arm of some older gimbals in its field of view.
- Live Dangerously. Most gimbals need a case-less iPhone for a proper fit. That means that when you’re doing the most adventurous things with your phone, it’s the most vulnerable. Be sure you have everything backed-up (and possibly insured) before you do anything too extreme.


Leave a Reply
Want to join the discussion?Feel free to contribute!