Tip #146: Secrets of Freeform View
… for Adobe Premiere Pro CC
Tip #146: Secrets of Freeform View
Larry Jordan – https://LarryJordan.com
Freeform view lets you arrange clips however you want
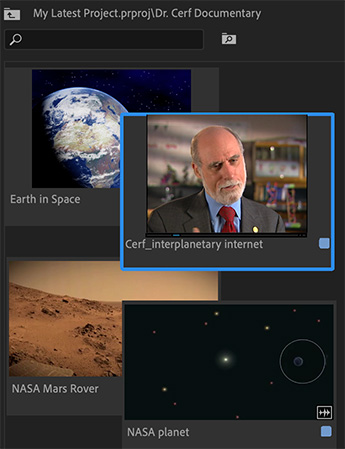

The Project panel has three different ways to view clips: list, thumbnail and Freeform. Freeform is new and, as you’ll discover, there are multiple things you can do in Freeform view. For example:
Zoom in and out of clips
- Hold down Opt/Alt while scrolling the mouse wheel
- – or – Pinch zoom on a trackpad
- – or – Use the + and – keyboard shortcuts
Snap the edges of a clip to another
- Press Alt (on Win) or Opt (on macOS) and drag the clip so that its edge snaps to the edge of another clip
Align all or selected clips to grid
- Select clips, right-click and choose Align to Grid from the context menu.
Adjust the size of clips
- Select clips, right click, select Clip Size and choose a size option. The default clip size is Medium.
Hoverscrub the clips
- Move your mouse pointer to the left and right to scrub the clip. Press I and O keys to mark the In point and Out point.
Customize the displayed metadata in Freeform view
- You can specify the type of metadata displayed on line 1 and 2 of the Freeform view thumbnail. The label color swatch and thumbnail badges can also be toggled on and off.
- Click the Project panel hamburger menu, and select Freeform View Options.
BONUS
See Tip #139 for more information on the Project panel.
This tip says “The Source Monitor has three different ways… ”
I’m guessing it should say: The Project panel has three different ways…
or am I interpreting this wrong?
Dave:
You are totally correct. I should never write these late at night. I’ve corrected the tip itself.
Sorry for the error.
Larry