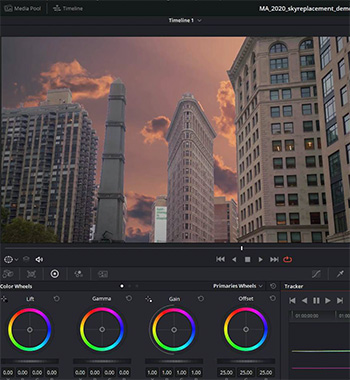
Tip #1461: Easy Sky Replacement in DaVinci Resolve
… for Visual Effects
Tip #1461: Easy Sky Replacement in DaVinci Resolve
Larry Jordan – LarryJordan.com
Replacing a sky is a typical request even for smaller projects.


Replacing an undercast or overexposed sky is one of those techniques that, if your client sees you doing it once, they’ll want it every time! Luckily, there are plenty of tools built-in to DaVinci Resolve that make replacing a sky a breeze.
This article first appeared in MotionArray.com. This is a summary.
First up, there are multiple ways that this can be done. A composite like this can be achieved in the Cut, Edit, Color, and Fusion pages – and each toolset offers its own strengths and weaknesses. Today, we are going to use the Color page because it’s the most straightforward way to pull out the sky and draw a garbage matte around the buildings.
Here are the steps. The article provides step-by-step instructions, along with screen shots.
- Step 1: Prepare Your Clips
- Step 2: Key the Sky
- Step 3: Place the Background
- Step 4: Refine the Key with a Power Window
- Step 5: Match the Elements with Color Correction
- Step 6: Track an Object for the Sky
- Step 7: Apply the Track Data to the New Sky
Now you know how to replace a sky in DaVinci Resolve using the Color page. What makes the Color page unique is that tools can easily be used in tandem. In our exercise we keyed the sky, refined the key with a Power Window as a Garbage Matte, and tracked the Garbage Matte – all in the same node.


Leave a Reply
Want to join the discussion?Feel free to contribute!