Tip #291: 12 Documentary Editing Tips
… for Random Weirdness
Tip #291: 12 Documentary Editing Tips
Larry Jordan – LarryJordan.com
These steps will help you organize and focus your work.
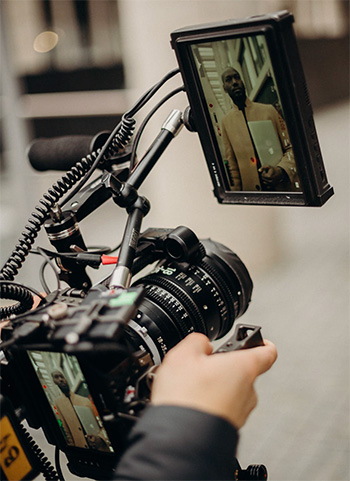

Michael Maher first wrote about this for PremiumBeat. Perhaps the most difficult aspect of editing a documentary is the amount of unscripted responses during interviews. Here are twelve tips to help you focus.
- Organize Folder and Label Bins. There is SO MUCH content in a feature that organization is critical. Consider using Post Haste, from Digital Rebellion. This free program instantly creates folder structures from templates, such as video editing, motion graphics, visual effects and more.
- Create Sequences for Individual Interviews. Rather than build everything into one master sequence, divide the work. This allows you to quickly build selects from an interview and also simplified later transcription.
- Transcribe all footage. New automated speech-to-text transcriptions can often get you close enough for editing. And editing from a transcripts is MUCH faster.
- Backup everything. Always. All the time. Like every night.
- Edit for a Story Arc. Whether it’s a documentary or work of fiction, every film needs to tell a story. In doing so, you want to make sure you have a beginning, middle, and end. In that series of events, you want to take your audience on an emotional roller-coaster — or story arc. It doesn’t matter if your documentary is two minutes long or two hours, if the story doesn’t progress — don’t expect anyone to watch.
- Use Close-up and Medium Shots More Than Wide Shots. Wide shots are great for establishing a scene or as an introduction to a new speaker, but they aren’t enough. By cutting to medium shots and close-ups, you are making the speaker more relatable. The medium shot is most often used for conversational pieces, as the audience feels the subject is right there talking to them. However, documentary films frequently use close-ups of only a speaker’s head. This is common due to the varying sets and backgrounds that can be jarring when cutting between speakers.
- Cut on Action. Actions make perfect cutting points that seem natural.
- Cut on Dialogue. Cut to words with a strong pronunciation. Also, cut at the beginning of a new sentence/theme.
- Avoid Jump Cuts. Hide cuts by switching angles, or covering edits with B-roll.
- Use Photos When You Don’t Have Footage. Still photos can help you hide edits or break away from static shots.
- Keep Graphics and Lower-Thirds Easy to Read. You don’t need a ton of moving parts or motion graphics. In fact, text with a drop shadow is the most common lower third for a reason. It’s simple and legible. Be sure to also use a font that is easy to read, as well as a nice font color. Don’t go crazy.
- Build an Archive of Assets. Keep media you can use across projects in a handy folder.
Leave a Reply
Want to join the discussion?Feel free to contribute!