Tip #370: 4 Steps to Better Skin Tones in Resolve
… for Visual Effects
Tip #370: 4 Steps to Better Skin Tones in Resolve
Larry Jordan – LarryJordan.com
Quick steps to improve skin without damaging the rest of your color grade.

This article, written by Rubidium Wu, first appeared in PremiumBeat.
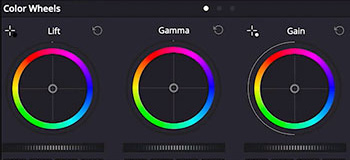
In this tip, we’re going to use DaVinci Resolve to improve skin tones, without affecting other color edits. Here’s how.
- Make a Mask. In a new node, select the qualifying tool, and drag it across the most even and representative part of the face. Increasing the clean white also helps a lot.
- Unify Tone. Once you have the skin isolated, increase the contrast and look for yellow, red, or green areas that don’t fit with the overall skin tone. In the Curves menu, select Hue vs. Hue, then select those colors using the curve up or down to shift the problem colors back to the central color.
- Pare Imperfections. In the color tab, adjust the slider marked MD for Midtone Density. Turning this down gets rid of contrast in the skin, effectively hiding imperfections.
- Separate. The last step is to add another node, then hit Option+L to turn this into a layer mixer node. Dragging the blue alpha arrow of the skin mask to the input on the lower of the two mixed nodes means that your skin grade will “pass around” anything done in the latter nodes. This lets you cool down the background — or desaturate it — without also affecting the skin.
Done.
Leave a Reply
Want to join the discussion?Feel free to contribute!