… for Apple Final Cut Pro X
Tip #1495: Keyboard Shortcuts to Change Audio Levels
Larry Jordan – LarryJordan.com
Keyboard shortcuts to speed audio level changes.


(I discovered this tip while researching a recent PowerUP webinar presenting Audio in Apple Final Cut Pro.)
You know you can change audio levels for clips in the timeline by dragging the audio volume line up or down. Here are some keyboard shortcuts that make this process even faster.
| Shortcut | What It Does |
|---|---|
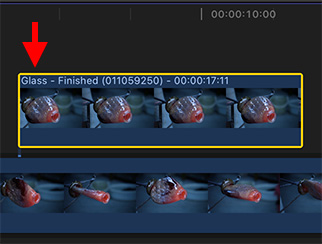
| Control + S | Expand / Collapse audio clip from video |
| Cmd + drag | Slows down level changes to improve precision. |
| Control + [minus] / [equals] | Lower/Raise audio levels for selected clip(s) |
| Control + Option + L | Adjust audio level across all selected clips TO a specific amount (Absolute adjustment) |
| Option + [Up] / [Down] Arrow | Nudge value of selected keyframe up or down. |