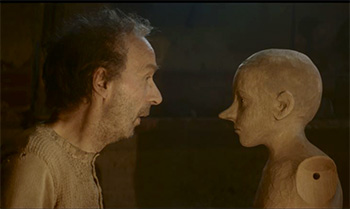
… for Visual Effects
Tip #1291: Top Ten Tips of 2020 for Visual Effects
Larry Jordan – LarryJordan.com
It is fascinating to see what readers find interesting!

During this last year, The Inside Tips published 975 tips and techniques covering six subject categories:
- Adobe Premiere
- Apple Final Cut Pro
- Apple Motion
- Codecs & Media
- Random Media Weirdness
- Visual Effects
Here are three “Top Ten Tips Lists:” The first shows the most popular tips covering Visual Effects. The second list shows the Top Ten most read tips across all categories. The third list shows the highest rated tips across all categories sorted by votes.
TOP 10 INSIDE TIPS of 2020
FOR VISUAL EFFECTS
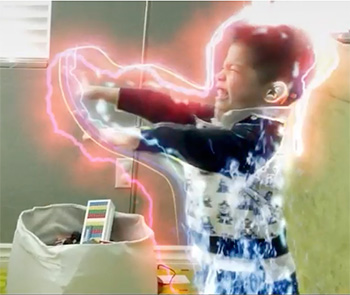
- Tip #413: Mask Multiple Clips with an Adjustment Layer
- Tip #329: Blurs and Mosaics are No Longer Safe
- Tip #592: Make Zooms More Interesting
- Tip #396: Mask Your Microphone
- Tip #723: 5 Highly Creative Edits
- Tip #418: What is an Anchor Point?
- Tip #435: Faster Rotoscoping for Still Images
- Tip #728: Improve Landscapes with Gradients
- Tip #572: Tips to Create Better Titles
- Tip #674: 51 Free Accent Animation Graphics
NOTE: Tips are sorted by views, most views listed first.
TOP 10 INSIDE TIPS of 2020
(Sorted by Views)
- Tip #479: Copy and Paste Masks in Premiere
- Tip #283: AAF vs. EDL vs. OMF Export
- Tip #413: Mask Multiple Clips with an Adjustment Layer
- Tip #474: DNxHR vs. ProRes
- Tip #329: Blurs and Mosaics are No Longer Safe
- Tip #592: Make Zooms More Interesting
- Tip #957: Apple Supports VP9 in macOS Big Sur
- Tip #1135: Boost and Smooth Dialog Levels
- Tip #715: How to Reset FCP X to Fix Problems
- Tip #342: Uses for Emoji in Final Cut Pro X
NOTE: Tips are sorted by views, most views listed first.
TOP 10 INSIDE TIPS of 2020
(Sorted by Ratings)
- Tip #742: The Best Advice to Keep Your Cool
- Tip #614: What is the Alpha Channel
- Tip #580: The History of Storyboards
- Tip #911: The Skin Tone Line is Your Friend
- Tip #515: Using the Active Camera Menu
- Tip #631: Get Freelance Work From Video Marketplaces
- Tip #1056: Move a Mix from Audition to Premiere
- Tip #624: Not All Captions Look Alike
- Tip #581: Create Colorful Lighting for 3D Text
- Tip #398: Use Watch Folders in AME for Automation
NOTE: Each tip was rated 5 out of 5. They are sorted by the number of votes each tip received, with most votes listed first.