… for Adobe Premiere Pro CC
Tip #1072: Preserve Your Projects – Long-term
Larry Jordan – LarryJordan.com
XML is the only file format that can be shared between apps.

Some projects are one-and-done. Never to see the light of day again. However, in these days of stock media and multiple versions, we often go back to the same project for years.
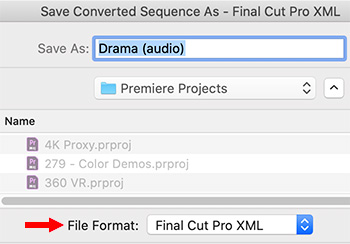
Yet, technology marches on. How do we protect our edit for the long-term? There’s only one answer: export an XML of every finished project.
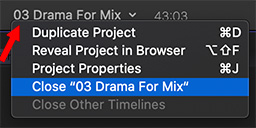
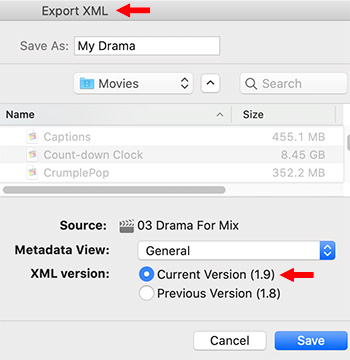
How? File > Export > Final Cut Pro XML.
- XML files describe every element of your edit – but DON’T include media. (You will need to archive media separately.)
- XML files can be transferred between applications, native project files can’t.
The best option, always, is to reopen your project in the application that created it. But, when that isn’t possible, XML makes sure you can recover your edit. Media links, edits and transitions are preserved in XML. When moving an XML file to other applications, though, you will lose most effects and color grading settings.
Because XML files are small, take almost no time to export, and provide the greatest amount of flexibility for the future, always export an XML version of the finished timeline when you are done with a project.